The correct tire pressure for a 20-inch folding bike is not determined by the wheel size, but rather by the specifications on the tire sidewall, rim, owner's manual, and the actual load. When crossing tram tracks, what matters most is choosing an early, as wide as possible crossing line and maintaining a calm, controlled riding style. In wet conditions, poor visibility, or if only a sharp angle is achievable, stopping or pushing is often the safer choice.
Key takeaways
- 20 inches is not a pressure specification: tire sidewall, rim, owner's manual, and total load together determine the permissible range.
- Choose your riding line before reaching the track, not once inside the groove, and aim for the widest possible crossing angle.
- In wet conditions, poor visibility, or at a sharp angle, slower speed, a different line, or walking the bike are sensible alternatives.
- Check the pressure, tire, and rim before the ride and again after a rough crossing before continuing.
Correctly determining tire pressure for 20-inch folding bikes
The permissible tire pressure does not depend on the inch measurement, but on the specifications of your specific tire and rim as well as the actual load. For daily city traffic on Urban models, assign these specifications systematically instead of adopting a blanket number for all 20-inch bikes.
Why 20 inches does not provide a pressure figure
A universally applicable pressure recommendation for a specific bicycle or tire cannot be given because the appropriate folding bike tire pressure depends significantly on the weight load on the tire. The pressure range and the total load are therefore the real basis, not the wheel diameter. Tires with a very small diameter, such as those installed on compact folding bikes, also tend to require higher pressure than large wheels. You must not go below or exceed the minimum and maximum values stated on the tire.
Which specifications you should compare on your own bike
To determine your personal folding bike tire pressure, compare four pieces of information:
- Tire sidewall: Indicates the permissible minimum and maximum pressure in bar or psi.
- Rim: Some rims specify their own pressure limit, which you must also observe.
- Owner's manual: The manufacturer may specify a recommended range for the respective model within the tire and rim limits.
- Total load: Your own weight, the bike, and any carried luggage determine whether you should be closer to the lower or upper end of the permissible range.
For more on balancing tire width and comfort, see the article Understanding folding bike tire pressure.
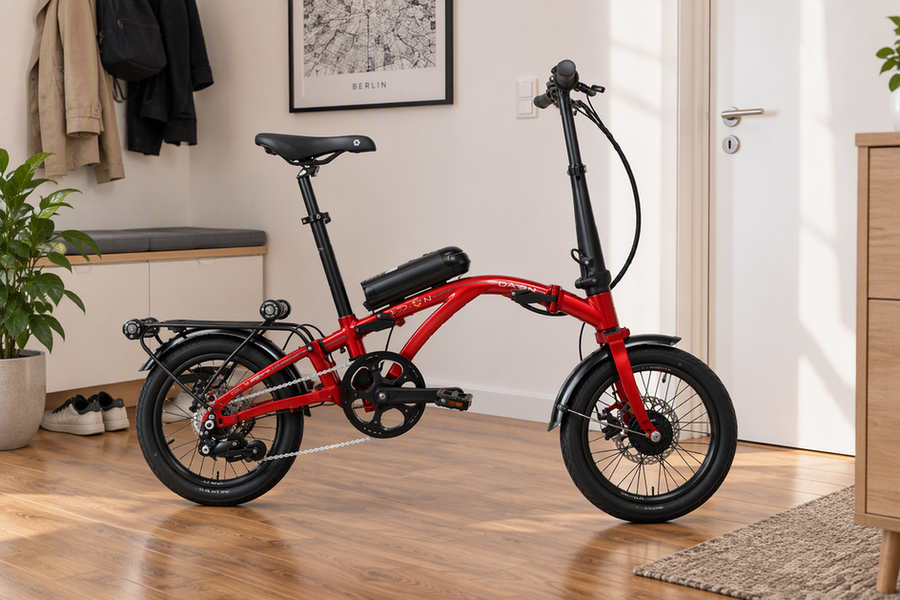
A DAHON model example without pressure promises
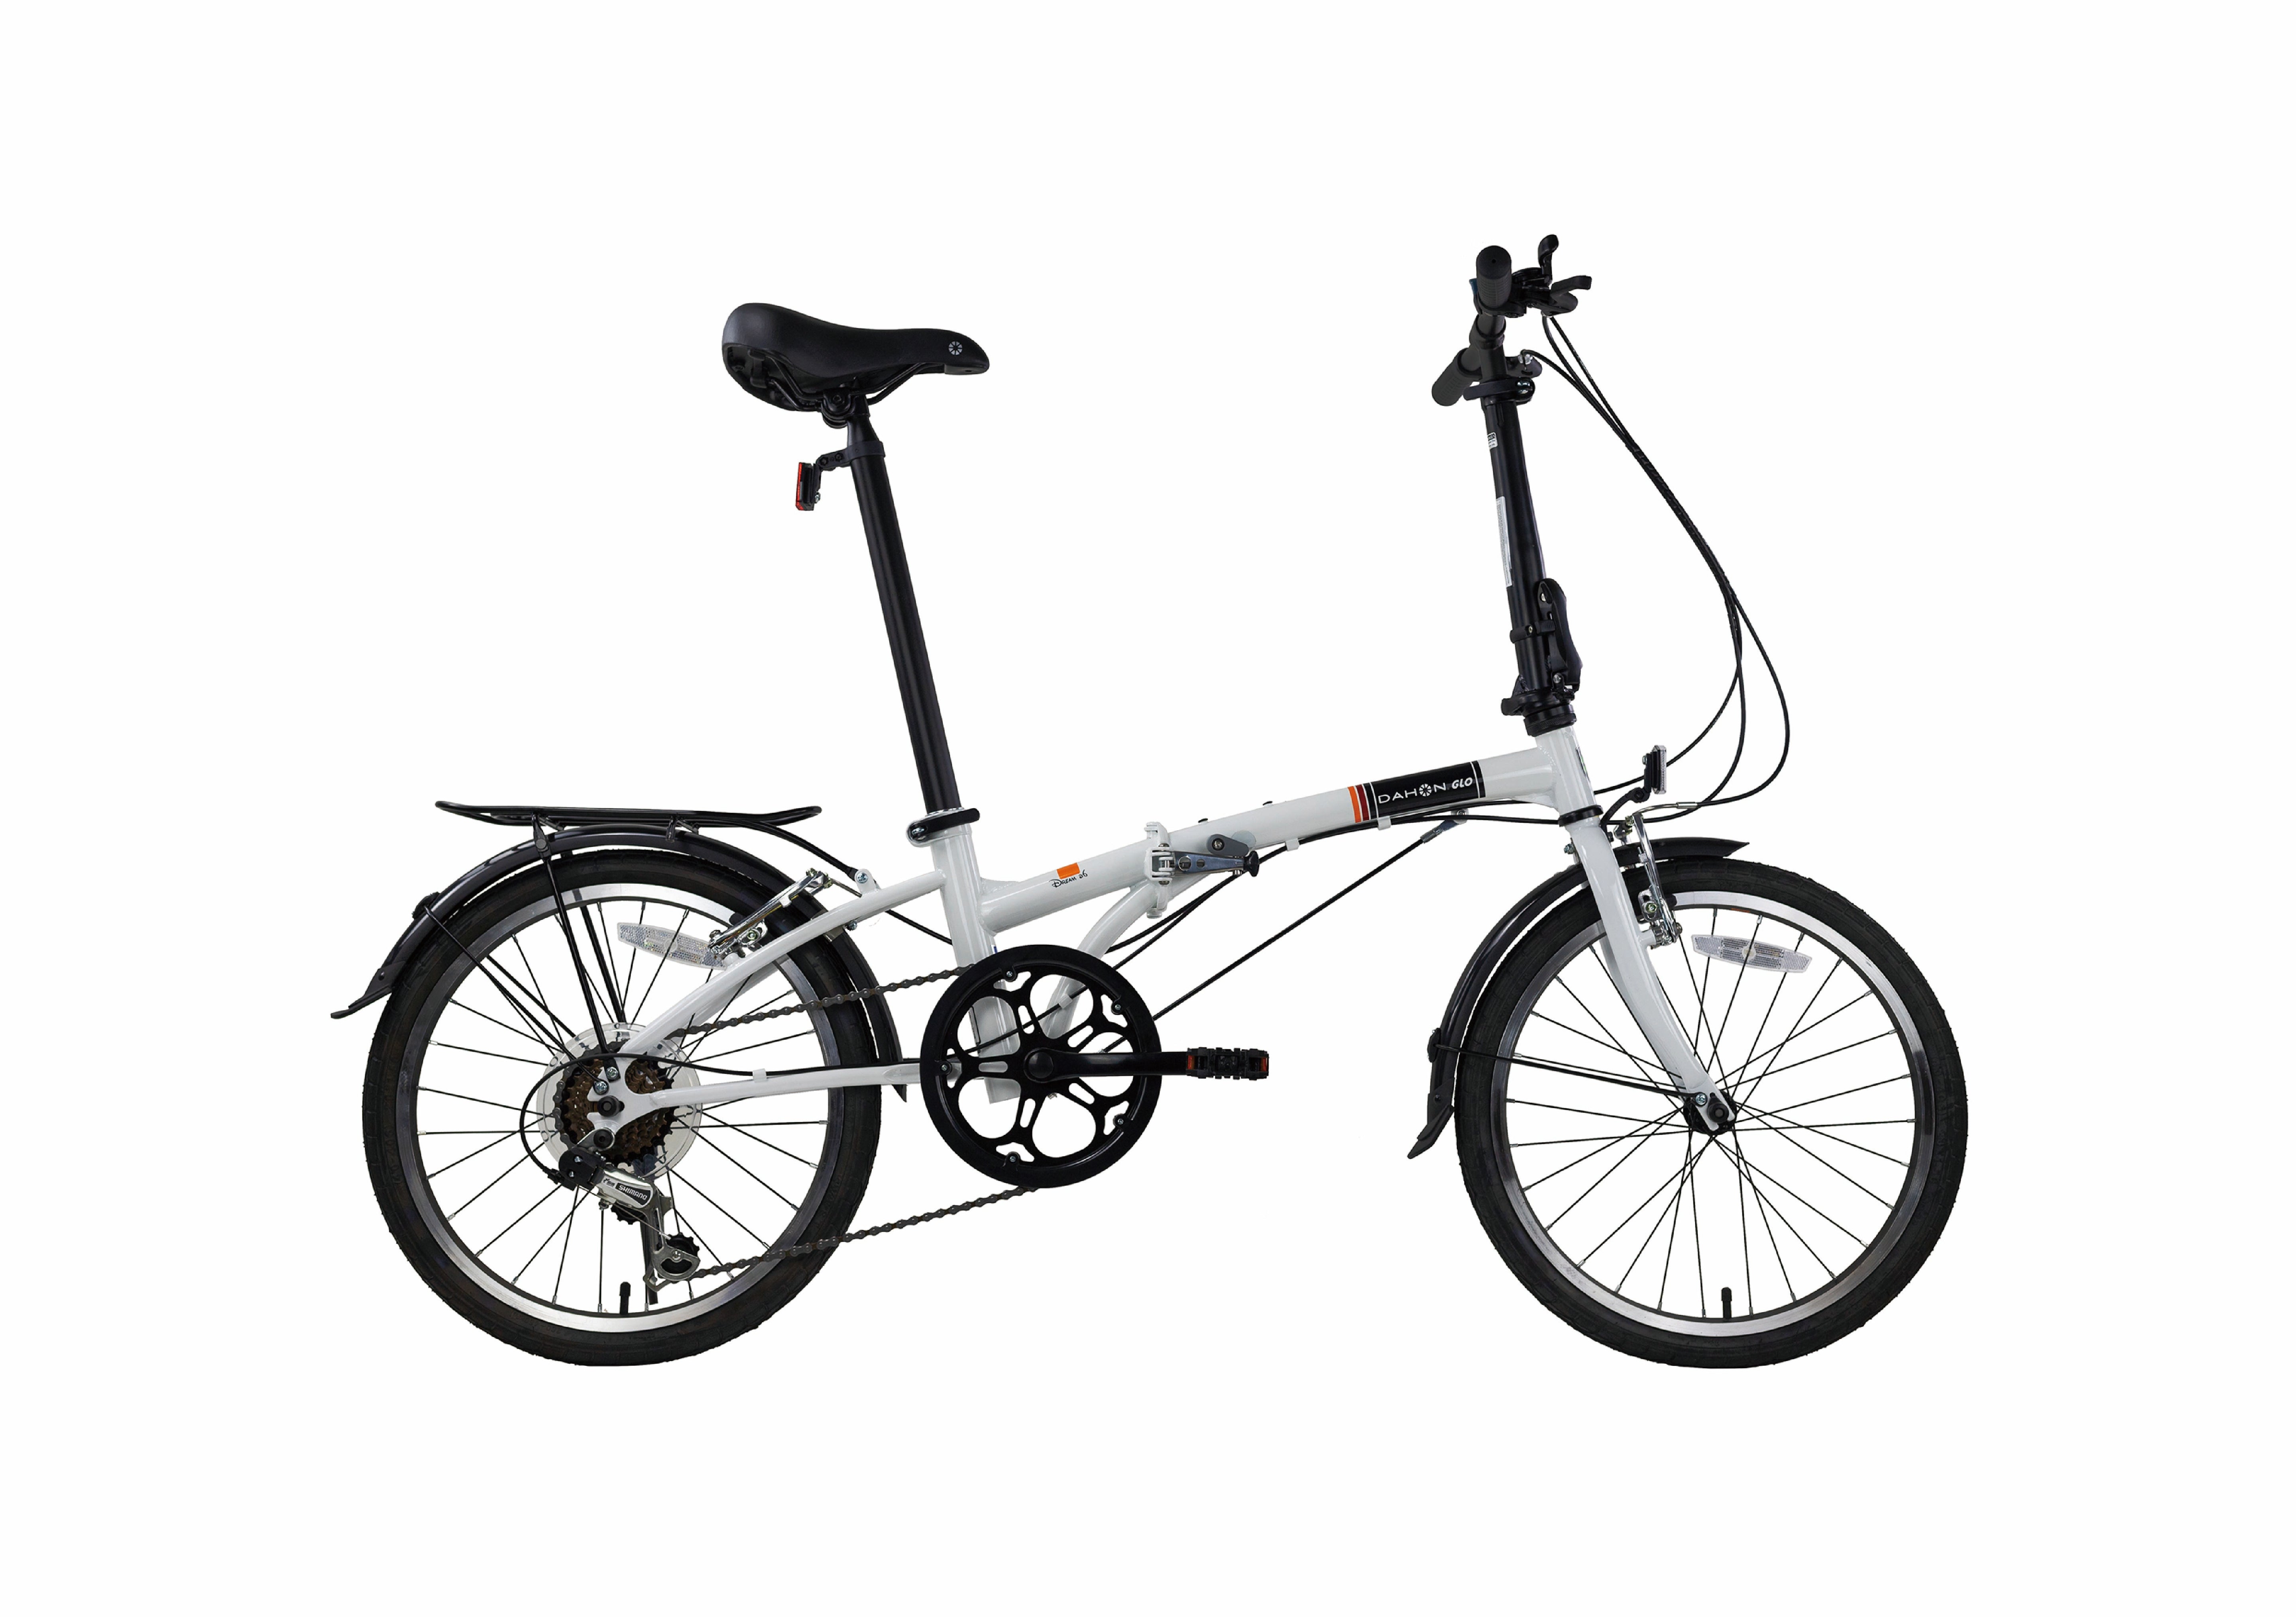
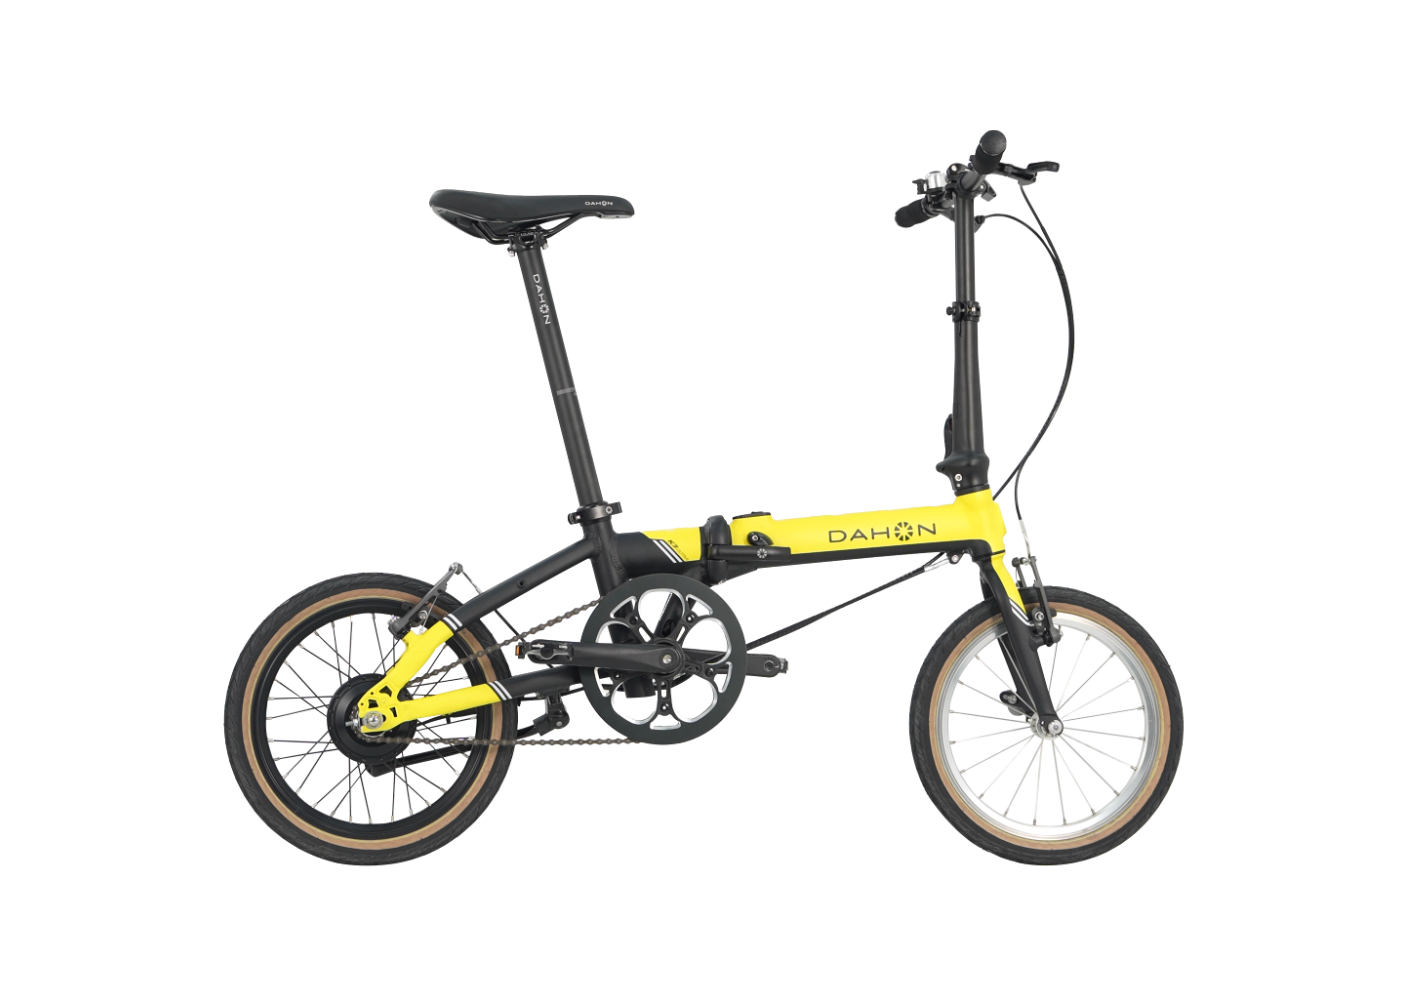
The Dream D6 model shows why the mere inch specification is not enough: For this model, 20 × 1.75 inch tires are specified. This is a specific tire size, but not a pressure figure. You must continue to read the permissible pressure range on the tire sidewall and the rim and compare it with your actual load.

Crossing tram tracks in a controlled manner
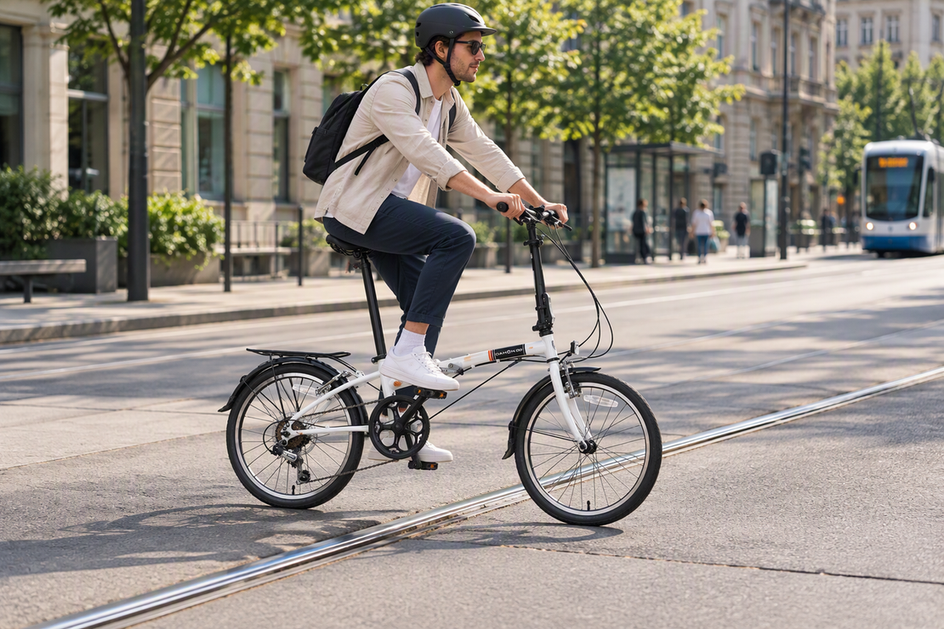
Choose your riding line before you reach the track and aim for the widest possible crossing angle. A controlled, steady riding style without late corrections reduces the risk of the front wheel getting caught in the groove.
Choosing the line before the track
- Identify the track and traffic situation as early as possible, not just a few meters before.
- Check if you can reach the track at a wide, ideally near-perpendicular angle.
- Adjust your line early instead of steering just as you hit the groove.
Crossing steadily and under control
Before reaching the track, choose a speed you can maintain without frantic steering or braking, and keep the handlebars steady. If a tire enters the groove of a tram track, it can impair steering and, in the worst case, lead to a fall; therefore, cross tracks at as wide an angle as possible. In rain, tire grip decreases when moving from asphalt to steel, making a controlled riding style even more important, as described in the Berlin Police's tips on track crossing.
Distinguishing between a single track and a track grid
With a track grid containing multiple grooves, it is not enough to assess just the first rail. Consider the entire riding line across all grooves and plan enough space to approach each crossing individually at a wide angle, instead of correcting frantically between the tracks.
Deciding differently in wet conditions, poor visibility, or at a sharp angle
Whether you cross, change your line, or get off depends on road conditions, visibility, and the reachable angle. These conditions must be decided before the track, not during the crossing.
Dry and clear track
If the road is dry, you identify the track early, and you can reach a wide crossing angle, begin the crossing as described in the previous section: controlled speed, steady steering, no late corrections.
Wet and slippery tracks
- Reduce speed before reaching the track, not while on it.
- Avoid sudden steering or braking movements on the slippery surface.
- Do not force the crossing if you cannot confidently assess the necessary grip.
In wet or generally slippery conditions, you should adjust your speed fundamentally and avoid abrupt steering or braking maneuvers; this rule for riding on slippery roads generally applies to all slick surfaces and can be applied to wet tracks.
Limited visibility or traffic
Only choose your riding line when you can clearly see the track and the traffic behind it. If the current location is obscured, wait a moment or head to a better-visible crossing point instead of crossing with uncertain judgment.
Sharp angle or track grid
Do not steer into a groove that you can only reach at a sharp, uncorrectable angle. If wet conditions, traffic, limited visibility, or the approach angle do not allow for a controlled crossing, stop and look for an alternative route or push the folding bike over the tracks.
Checking tires and rims before and after the crossing
A quick visual and pressure check is part of the routine before the ride; repeat this check specifically after a hard crossing. This way you can see in time whether you can continue or need to clarify the cause.
Before the ride
- Check if the pressure is within the previously determined range.
- Inspect the tire for visible cuts, cracks, or foreign objects.
- Check the even seating of the tire on the rim, as far as visible.
A more detailed adjustment routine for the first ride can be found in the first ride checklist.

After a hard or noticeable crossing
- Check again if the tire has lost noticeable pressure.
- Inspect the tire and rim for visible deformations or new damage.
- If there is visible damage or significant pressure loss, do not simply continue; have the cause professionally addressed.
If you notice pressure loss while on the road, the article Tire puncture on the road will help you assess what a repair kit can do and where the limits of self-help lie.
Frequently asked questions
When should you not just continue after a crossing?
Do not continue if, after a hard or noticeable crossing, you detect a significant loss of pressure, visible damage to the tire, or a discernible change in the rim. In this case, have the cause professionally addressed before continuing.
Can tire pressure be adjusted across the board for changing conditions like wet or cold weather?
No, a blanket adjustment is not intended. The folding bike tire pressure remains tied to the limits stated on the tire and rim; weather or temperature do not change these limits, even if you should ride more cautiously in wet conditions.
How often should you check the tire pressure on a folding bike?
Check the pressure before every long ride and after a hard or noticeable crossing of tracks or curbs. This way, you will notice a creeping loss of pressure before it leads to a puncture or tire failure.
What should you do if you cannot reach the track at a wide angle?
If the approach angle remains too sharp and can no longer be safely corrected, do not steer into the groove. Instead, look for an alternative line at a better-suited point or dismount and push the folding bike over the tracks.